CASE III Breaking of a dam
This case is presented in its original version, after that there are two modifications in the barrier. The first one doing the barrier one half of the original value. The second one doing the barrier twice the original height.
The grid
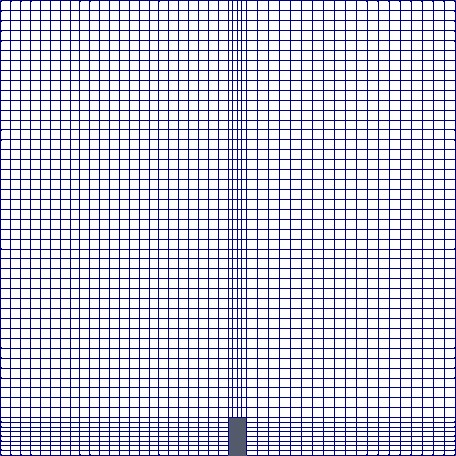
Original grid
Original, low barrier and high barrier vertices
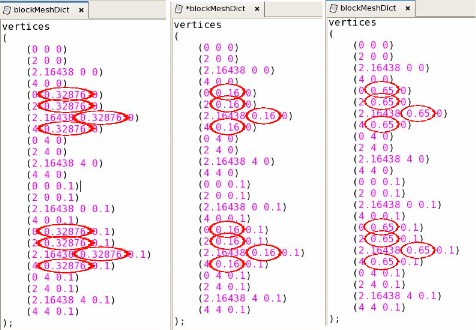
Original, low barrier and high barrier vertices
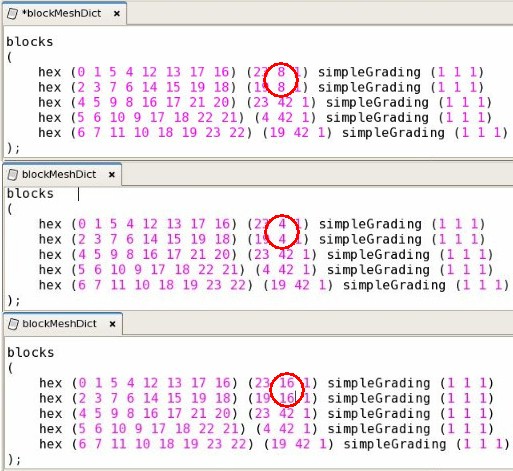
From top to bottom: Original, low barrier and high barrier mesh division
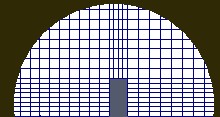
Original barrier grid detail

Low barrier grid detail
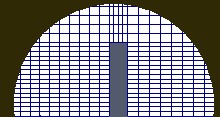
High barrier grid detail
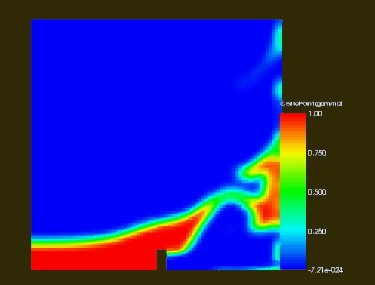
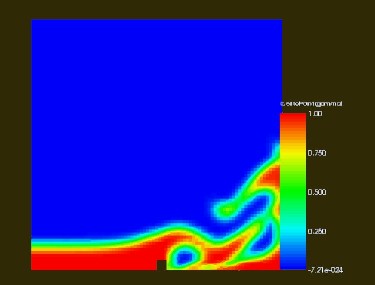
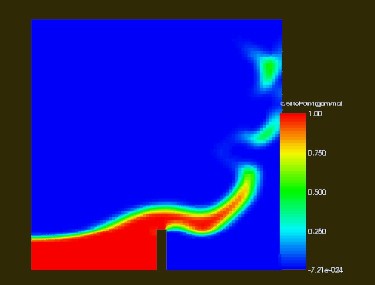
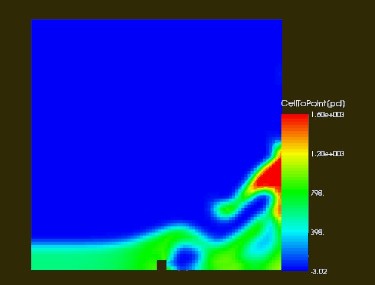
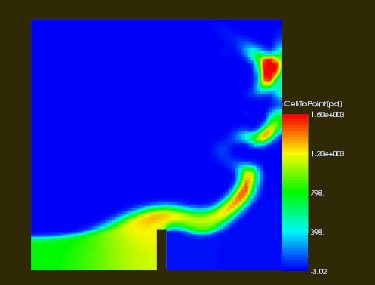
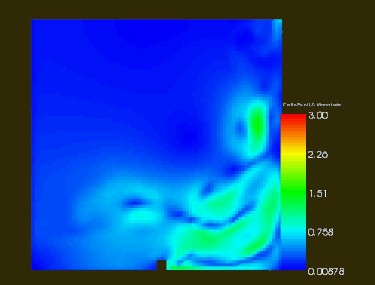
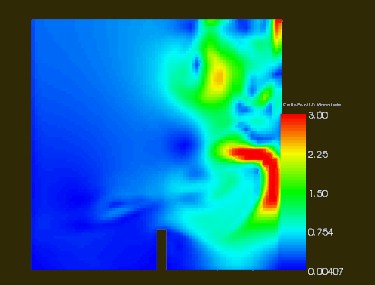
Results